Building a patio is one of the best ways to improve a home. The nice outdoor space can serve as an entertaining area, where you can dine, converse, or bask in a late-night bonfire with your friends. You can also enjoy a cup of tea in there on a nice, warm day.
If your yard is lacking such a space, building one is simpler than you think. You can actually do away without a pro’s help, though you need some professional-quality tools to ensure a fast and smooth project.
Let’s run through everything you need for a DIY dreamy and cozy patio.
Material List
- Gravel and builder’s sand
- Landscape Fabric
- Spade
- Wheelbarrow
- Tamper or plate compactor
- Garden hose or stakes and string
- Broom
- Paving stones or bricks
Other than those, you may also need safety and cleaning materials, which can be purchased from stores selling high-quality construction site set-up equipment. Working with a complete set of tools and equipment like a pro ensures a more well-done project.
Preparing the Site
Trace your desired patio shape using the garden hose or the stakes and string. Afterwards, dig out the soil and sod using the spade. Make a 5-inch deep pit, then dig out more to match the thickness of your chosen paver. Collect the discarded soil in the wheelbarrow.
Once the base is ready, lay the landscape fabric on it, cutting it to fit. Add a 4-inch layer of gravel next, and use the tamper or plate compactor to firm it up. After that, proceed to add a 1-inch layer of builder’s sand, and firm it up as well with the same tool.
Installing the Pavers

Now that your base is all set, you may now begin installing the pavers. Start by putting down the stone borders first. Lay them down along the sides, ensuring that they’re as thick as your pavers. If they’re too tall, you’ll have to make the base on the sides a little deeper.
When you’re done, lay the first flagstone or brick on one side of the patio. Add more sand underneath just to be sure that the surface is even. Keep the stones close together to prevent weeds from growing in the gaps.
After installing all the pavers, add more sand all over, then sweep it away until all gaps and cracks between the pavers are filled. Mist the surface to make the sand sink, then repeat the process off adding sand, sweeping, and watering for about a week. This is to ensure that your patio’s flooring will be durable.
Furnishing Your Patio
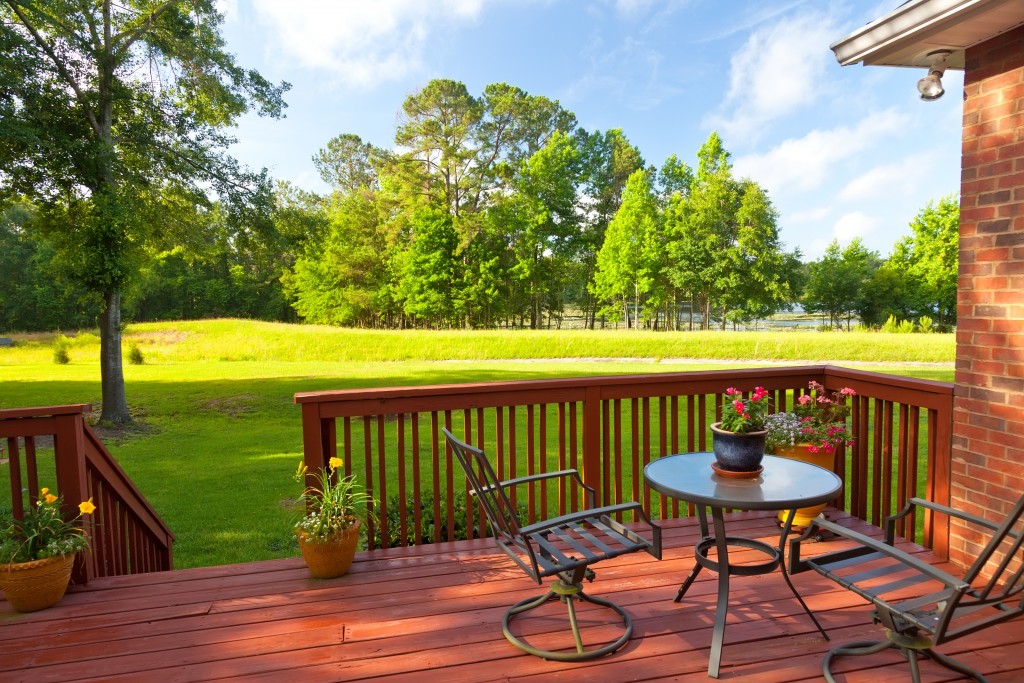
Now goes the best part: choosing furniture and decor! Depending on your desired set-up, you may go for a dining ensemble, garden set, or living room extension. Whichever you choose, ensure that the furnishings will fit into the space.
For an al fresco patio, wicker, rattan, or metal furniture look best. Wicker and rattan emit a natural effect with their appealing textures and colors, whereas metal exude durability. Metal also comes in brighter and bolder colors, which may add more visual interest in your patio.
The same materials are recommended for garden sets and living room furniture. Select matching pieces to exhibit a cleaner look. Play with color through decor and accent pieces, such as area rugs, vases, flowers, plants, and throws.
Don’t forget the lighting! String lights and hanging lanterns look the most romantic in patios. And of course, the good ol’ fire pit will never go out of style and function, so don’t go without it.
By following these DIY patio building and designing tips, your new outdoor space will look as if it’s done by a pro. Take your time with the process, because the best results are achieved by being meticulous.